
Once upon a time, somebody asked how I do my zippers. Because I like to share knowledge, I decided I'd write up a little tutorial for my method (and probably the method of others, too). Because I am lazy busy, it's taken me a long time, but I finally got round to it.
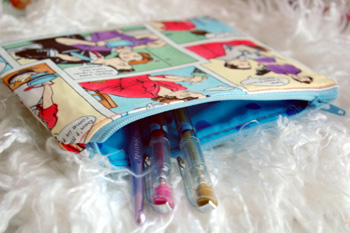
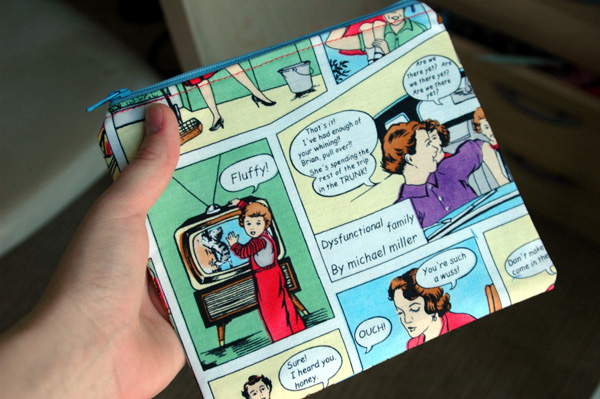
Some things: This is a tutorial for a zipped pouch, but you can use the same method on larger projects. If you put little 'end caps' on the ends of the zipper before sewing it into your project, you can have a zip that doesn't go all the way across, as with this purse. Doing that can take some jiggery pokery to get it to work, but it's not so difficult, really.
Just a note: I've had to close the comments on this post, because it was starting to get pretty heavily spammed. Thank you to everybody who has used and enjoyed this tutorial!
The tutorial is behind the cut!
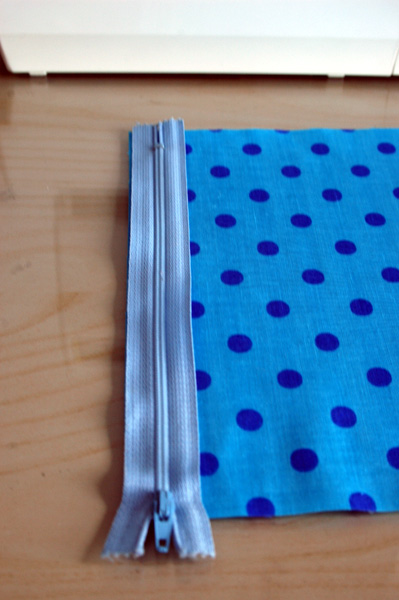
Right! With one piece of your lining fabric right-side-up, place the zipper, also right-side-up, like so:
Take one piece of your outer fabric and lay it down on top, right-side-down, creating a delicious zipper sandwich. Baste or pin everything together if you like, but I live on the edge and just go for it! Don't be afraid -- what's the worst that can happen? You'll repeatedly mess up and tear out the stitches until you're left with a threadbare pile of scraps that you have to throw away? Pshaw! . . .Okay, maybe you should pin it.
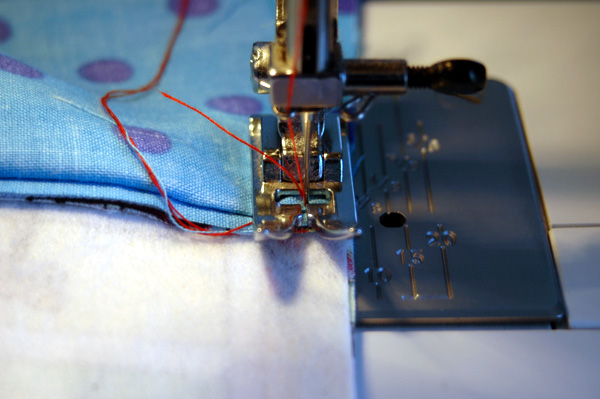
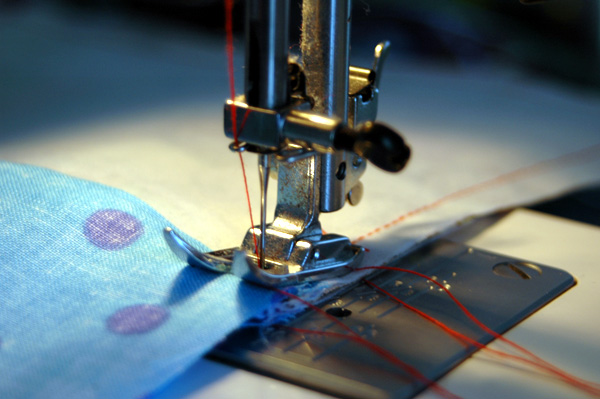
Anyway, now that your pieces are laid out like the photo below, sew them all together. Go down the left edge (to the left of the zipper teeth) using a zipper foot. You really do need a zipper foot. Find one, use one, and then you'll say, 'No wonder I had so much trouble before!'

With your sewn zipper sandwich, fold back the two pieces of fabric so the wrong sides are together, like so:
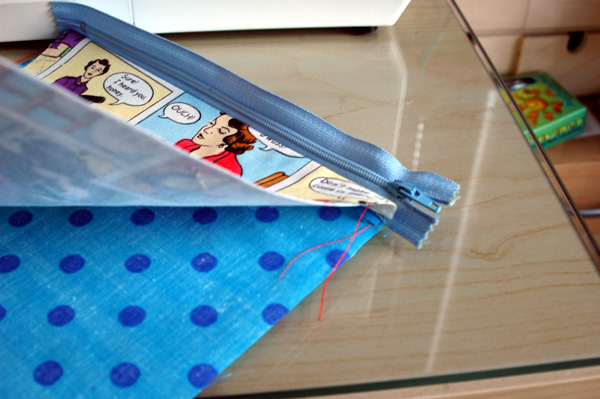
Again, you can pin your pieces together or iron it flat, but I just can't be bothered. Flatten everything out and topstitch about 1/8" from the edge, where the fabric meets the zipper. You should catch all three layers (outside, ziper, lining) and squash everything right down. It will look like this (you may need to click to see the detail):
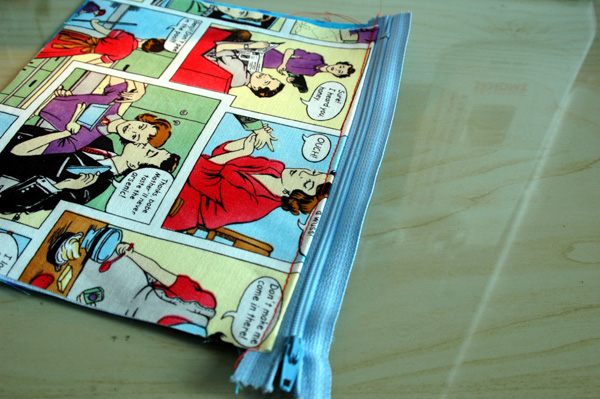
Repeat for the other side of the zipper, and you'll wind up with something like the photo below. At this point, I took a moment to square everything up again -- not pinning can take its toll! I'm not afraid.
Flip some fabric around until you've got both pieces of outer fabric on one side of the zipper and both pieces of lining fabric on the other. It'll look like this:
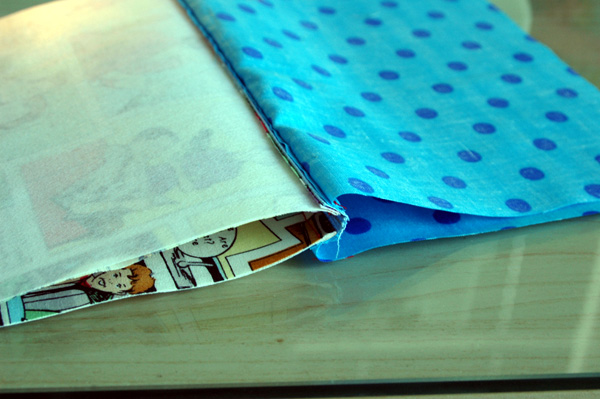
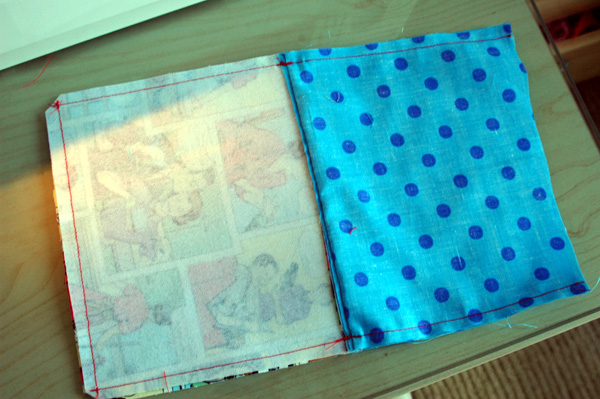
Carefully line up the top edges of the outer fabric as in the photo below. Note how the zipper goes toward the lining. Now's a good time for pinning.
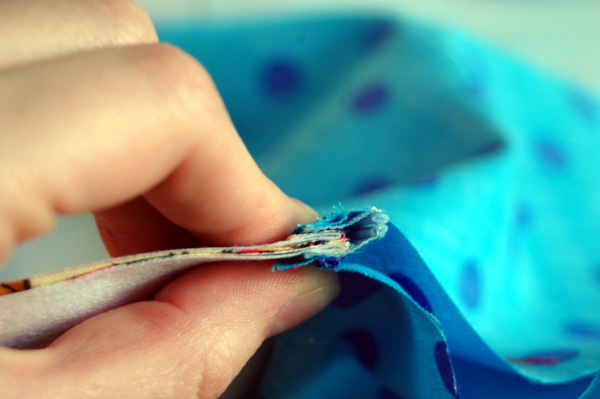
Starting at the seam where everything meets (see below), sew straight down to the bottom. Flip the pouch over and repeat for the other side of outer fabric. With both sides sewn up, reach in through the bottom and unzip the zipper. Oooh, you'll be so mad if you forget that part!
Line up the edges of the lining and sew down the sides, as you did with the outer fabric. Now you should be catching the ends of the zipper in the first few stitches.
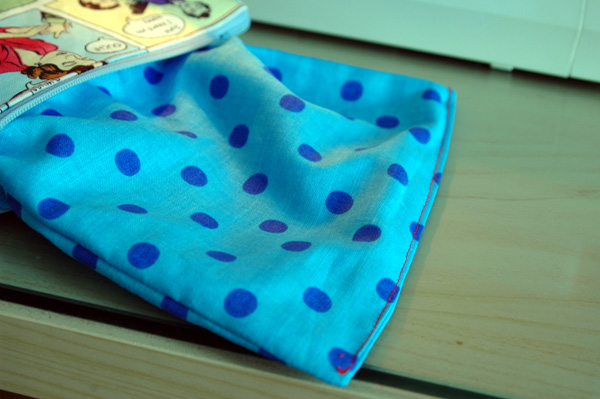
Once you've finished both sides, you'll have something resembling the photo below. I left the bottom of the lining completely open, because my outer fabric has interfacing on it (it makes it stiffer and more difficult to turn). If you're using a lighter, friendlier fabric, you can sew up part of the bottom, leaving a smaller hole to turn the piece through.
Snip the excess fabric from the corners of the outer fabric. Then go ahead and turn the whole thing right-side-out. Turn under about 1/2" of the bottom of the lining, press it flat, and sew it closed. No more raw edges!
Tuck the lining into the pouch, and it's practically finished!

All you have to do is iron out any wrinkles and then admire your lovely new pouch with its perfect zip. Hooray!
 coco玩布-小布屋零錢包做法分享-1")
 coco玩布-小布屋零錢包做法分享-2")
 引用-日系棉麻風~隨手零錢包")
 引用~泡沫之夏。小黑貓零錢包-10/15")
 引用- \"那個魚\"零錢包~手作分享")

